SQL Backup provides the Reporting feature for you to generate reports on completed backups that have been performed by SQL Backup 5. You can create the following reports on a selected SQL Server instance or instances, within specified dates:
- All backup history lists all backups that have completed.
This includes successful backups, backups that have warnings associated with them, and failed backups.
For reports on multiple SQL Servers, this includes only backups performed by SQL Backup 5.
- Backups with warnings lists all completed backups that have warnings associated with them.
- Failed backups lists all completed backups that have failed.
This includes only backups performed by SQL Backup 5.
On the Tools menu, click Reporting.

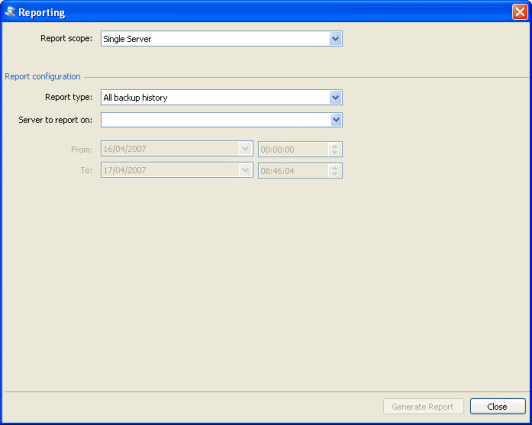
In Report scope, choose:
- Single Server to report on activities that have occurred on one SQL Server
- Multiple Servers to generate a combined report on a number of SQL Servers
To report on multiple SQL Servers, SQL Backup creates a reports database on a SQL Server that you specify.
Note that if the selected SQL Server does not have the server components installed, a warning is displayed and you must install the server components to proceed.
Single server
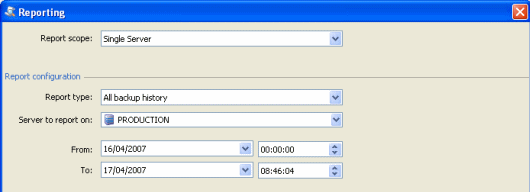
For Single Server, select the type of report that you want to generate, and select the SQL Server instance for which you want to create the report. Then, specify the dates (inclusive) between which you want the activities to be reported.

Click Generate Report. The report is displayed in the Report Viewer. You can print or save the report as required.
Multiple servers
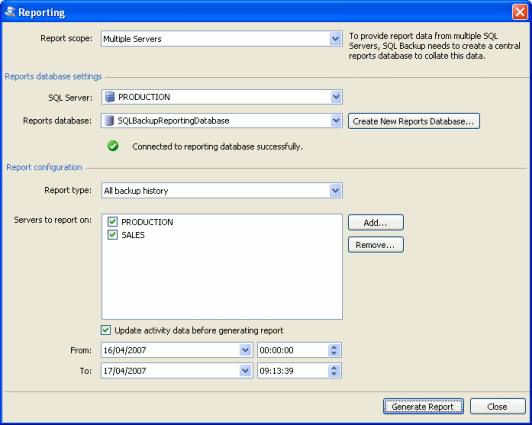
For Multiple Servers, SQL Backup must create a reports database to collate the data from the SQL Server instances that you choose to report on.

Under Reports database settings, select the SQL Server for the reports database. If you have not yet created a reports database, click Create New Reports Database, type a name for the database, and click Create Database. If you have already created a reports database, you can select it from Reports database.
Under Report configuration, select the type of report you want to generate.
When you first create a reports database, the selected SQL Server is automatically added to the list of Servers to report on. You cannot remove this SQL Server from the list, but you can clear the check box if you do not want to include it in the report. Any 'linked' SQL Servers are also listed; you can deselect or remove these if required. For more information about linked servers, refer to your SQL Server documentation.
To add another SQL Server, click Add. Then, in the Add Linked Server dialog box, type the name of the SQL Server in the Server box, and click Add.
By default, SQL Backup updates the data collated in the reports database before generating the report. If you do not want the data to be updated, for example if you know it is already up-to-date, clear the Update activity data before generating report check box.
Then, specify the dates (inclusive) between which you want the activities to be reported.
Click Generate Report. The report is displayed in the Report Viewer. You can print or save the report as required.
© Red Gate Software Ltd 2008. All Rights Reserved.